Project 2: AutoTools
Word Art

Did you want: Working with Words: Word 2007,2010,2013,2016 or español
Project 2: AutoTools |
Did you want: Working with Words: Word 2007,2010,2013,2016 or español | |||||
|
| ||||||
|
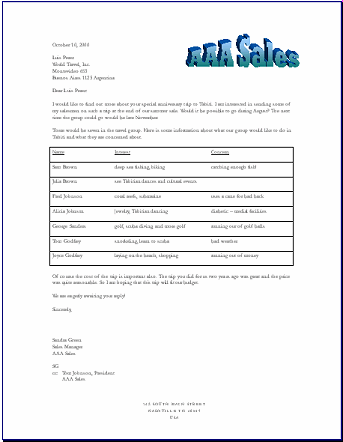
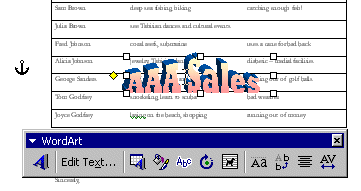
Sometimes plain words just won't do. You need characters with some pizzazz. WordArt can help you create attractive
logos and fancy text to really catch the reader's eye. This program is
accessed from the Drawing toolbar in Word.
|
Project 2: Auto Tools Search Glossary |
WordArt Features
WordArt comes with some pre-designed special effect schemes to get you started. You can edit every aspect of the scheme including the rotation, line colors, line widths, shadows, 3D perspective, texture, light source, gradient, font, and font size. Because there are so many settings that you can change, the WordArt Gallery is a real help, even if you wind up changing several settings.
Start
with: Create WordArt
Modify WordArt Color/Fill
| ||||||||||
|
~~ 1 Cor. 10:31 ...whatever you do, do it all for the glory of God. ~~ |

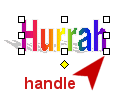 When you
use WordArt, you are actually creating a
When you
use WordArt, you are actually creating a 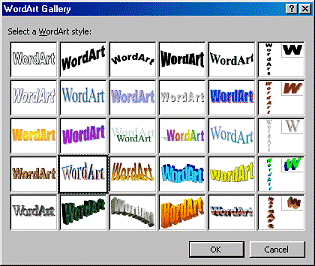 Click on
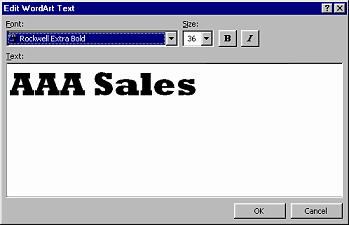 Click on OK. The dialog named Edit WordArt Text opens.
 Click on OK to insert your
WordArt into your letter.
Click on OK to insert your
WordArt into your letter.
 On the WordArt bar, click on
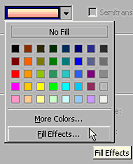 Click on the arrow to open the choices for Fill Color. A
 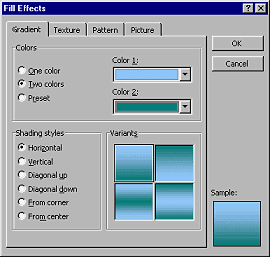 Click on Fill Effects at the bottom of the palette. The dialog opens with the Gradient tab open.
 .
.